Machine Man 2, 1978 “House of Nightmares”

When Jack “King” Kirby returned to Marvel in the mid-1970s, not only did he spend time on an old favorite, Captain America, but he also created some new characters that were absolutely mind-blowing. One at the top of the list has to be Machine Man. An android created by a scientist, that in turn was killed trying to remove the auto-destruct mechanism from him. Machine Man was introduced in the pages of 2001: A Space Odyssey (issue 8, 1977). This was another Kirby vehicle that was initially based on the film (Stanley Kubrick) and novel (by Arthur C. Clarke). Kirby eventually took the book in his own direction though, and brought more of his Bronze Age bombast with it.

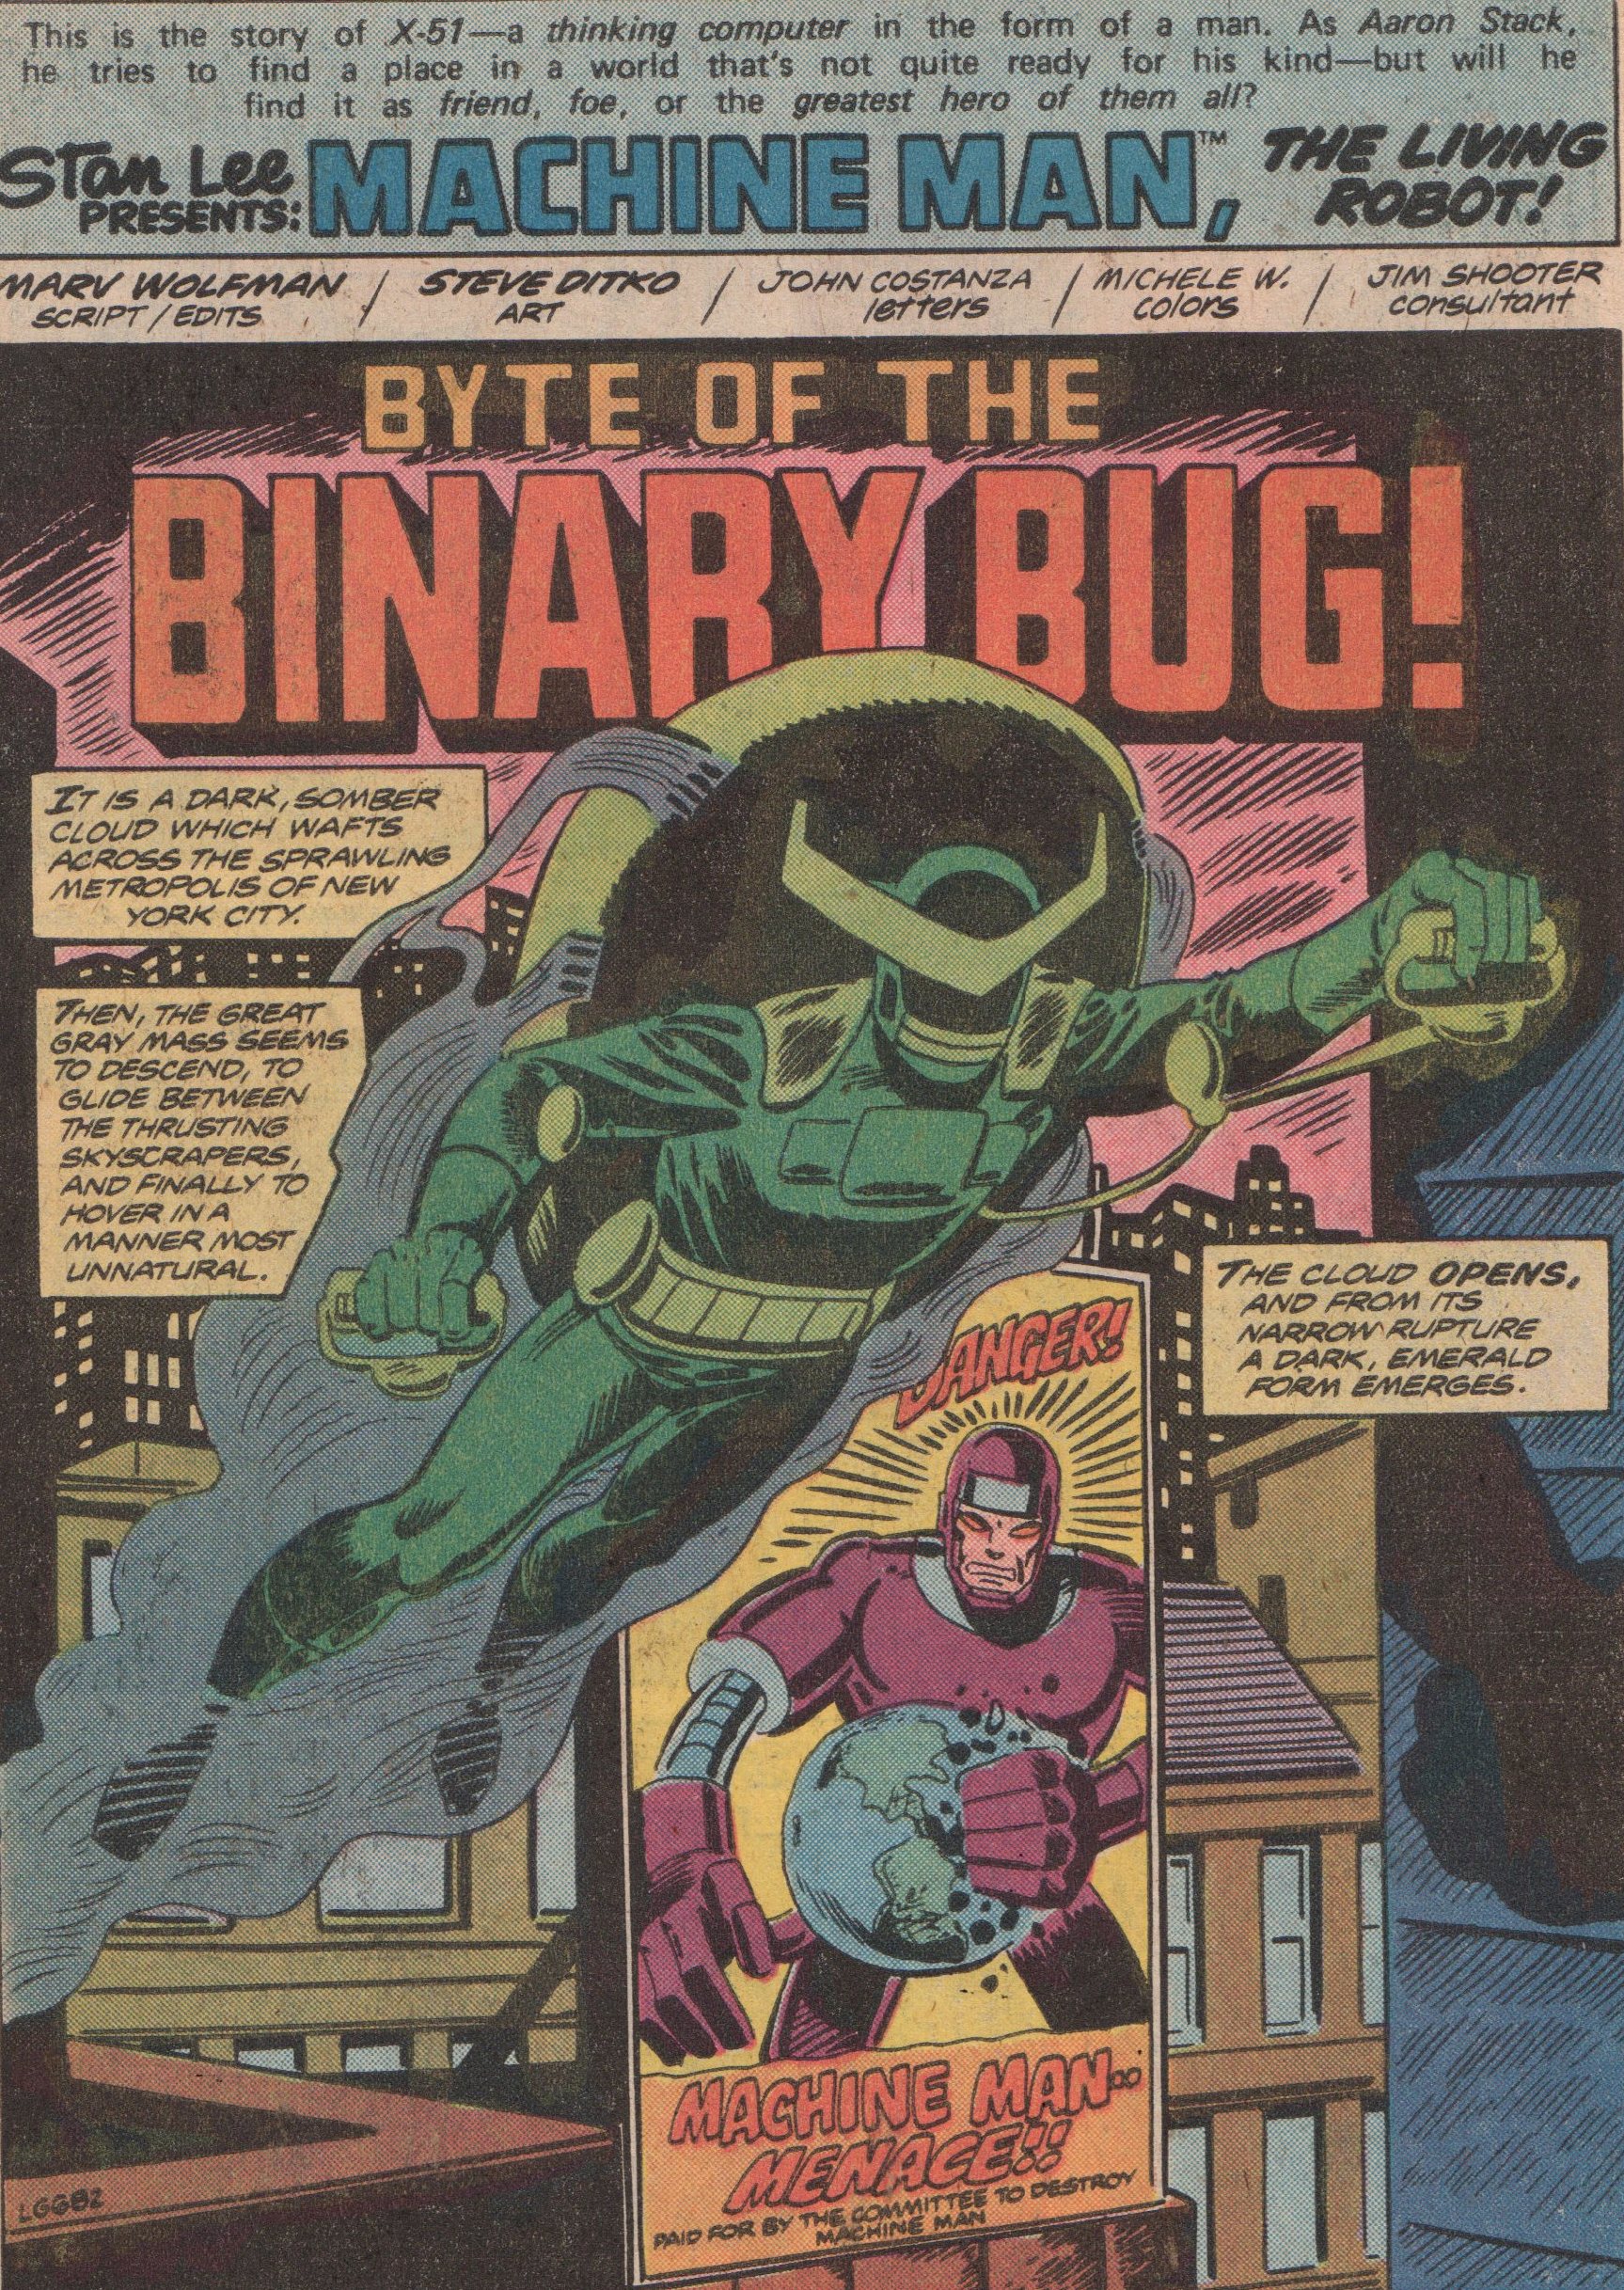
Kirby eventually left Marvel in 1978/1979 (after issue nine of this series), but the title did go on for a few more issues with Steve Ditko on art. It was interesting, but not the all out craziness and cool of Kirby (some of that was definitely the writing, too).  But we did get this awesomeness from the King for those first nine issues, and how glorious they are to behold! Written, edited, and penciled (cover as well, with possible inks by Mike Esposito) by Jack Kirby, inks and letters by Mike Royer, and colored by Petra Goldberg!


Advertisement

Machine Man 11, 1979 “Byte of the Binary Bug!”

The title “Machine Man,” was from the incredible mind of Jack “King” Kirby. As with virtually everything he touched, the book was great, but his run only lasted for the first nine issues. After that, it took a strange turn when Steve Ditko took over the artistic duties. This story brings in a techno-villain that seems to have what it takes to not only commit daring crimes, but also to stop Machine Man as well! A wild story with a tragic ending, as only Marvel in the Bronze Age can supply!

The man named Marv Wolfman (writer/editor), must have lived in the studio during the Bronze Age. Between the writing, plotting, and editing, his resumé is ridiculous. He’ll always be a legend for his collaboration with Gene Colan (Tomb of Dracula), but he was always a consistently good writer no matter what title. Steve Ditko (interior art and cover) needs no introduction or hyperbole thrown his way. If not for him, Spider-Man wouldn’t be the iconic character he is today, period. Michele Wolfman (colors) and John Costanza (letters), round out the creative team!


img087

img088

img090

img091

img092

img093

Marvel Two-in-One #92 “This Evil Returning” and #93 “And One Shall Die” (1982)

In this double-sized post, I’ll be showcasing a two-part story featuring the Thing, as he takes on the menace of Ultron! The good news is, he wont have to face him alone. The bad news is, that even with Machine Man and Jocasta, he’s still in over his head! The entire series of Marvel Two-in-One was just something to marvel at (no pun intended). The myriad of stories and creators was a melting pot during the Bronze Age for some of Marvel’s best, and most talented creators. Especially when you look at the fact that most don’t get the recognition they deserve. Names like Ron Wilson, Chic Stone, Tom Defalco, David Anthony Kraft, Jo Duffy, Alan Kupperberg, and so on. These professionals gave it their all, and whether you want to admit it or not, were just as big a part of the industry as some of the more recognized names at that time. They kept characters roles expanding, as well as keeping them in-line with continuity and moving forward.

This great two-part story was given to us by Tom Defalco (writer), Ron Wilson (cover and interior pencils), Chic Stone (cover inks) Joe Rosen (letters), Don Warfield and George Roussos (colors), and edited by Jim Salicrup! The inking was done by committee, but at no time did the work suffer for it. Sometimes when you get too many hands in the pot, you have a recipe for disaster, but not here! Some really good character interaction plus great humor as well. Feast your eyes on these two books!


Image (3)

Image (4)

Image (5)

Image (25)

Image (26)

Image (27)

Image (28)

Image (29)

Image (30)

Image (31)

Image (32)